Embarking on the journey to create circuit boards for beginners can be daunting, yet it’s an incredibly satisfying skill to acquire. Learning how to make a printed circuit board at home allows you to build custom electronics projects or even prototype your own inventions. This guide will provide a comprehensive introduction for those looking to get their start in crafting basic yet functional circuit boards using readily available tools and materials.
Introduction to Circuit Board Creation
Before diving into making the board at home, it’s essential to have a foundational understanding of what a circuit board is. A circuit board, at its core, is a platform used to connect and support various electronic components in a fixed arrangement to facilitate an electronic circuit’s functionality. The process of how to make boards at home requires a certain set of tools. Gather your supplies, creating a workspace where you can focus on the intricate steps involved in circuit board creation. Remember, patience and precision are your best allies in this endeavor.
- Copper-Clad Board: The base material you’ll be working with to create your circuit paths.
- Circuit Design: Your guide map, crucial for a successful creation of circuit boards for beginners.
- Etching Solution: A key chemical used in making the board at home, removing excess copper to reveal your design.
- Permanent Marker or Laser Printer and Toner: Needed for transferring your schematic onto the copper board. This is where the physical layout begins to take shape.
- An Iron: Particularly for those exploring how to make a printed circuit board at home using the toner transfer method.
- Drill: To make precise holes for mounting components – a step that can’t be overlooked for a functional board.
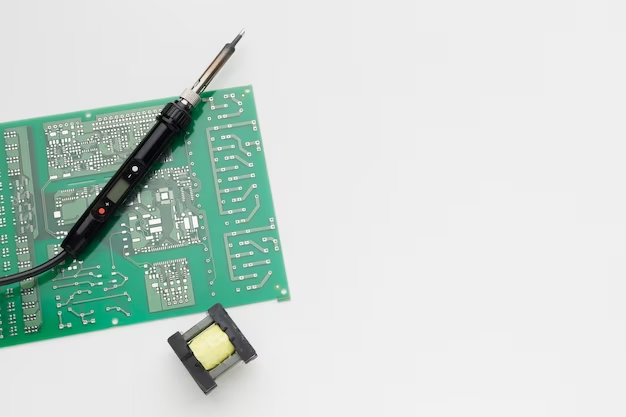
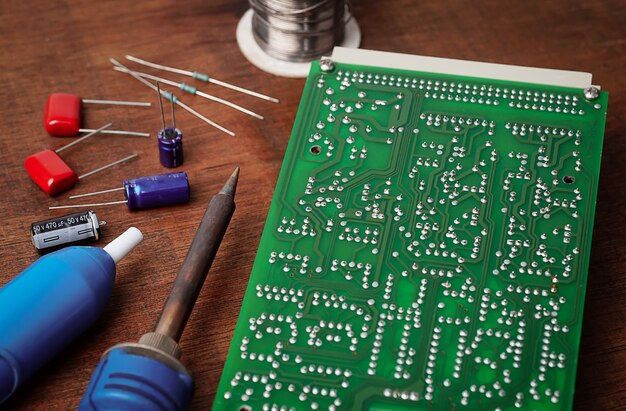
- Solder and Soldering Iron: The tools that will solidify the connections between your components and the board itself.
- Protective Gear: Safety first! Gloves and goggles are a must when dealing with chemicals during the etching process.
Step-by-Step Process for Making a Circuit Board
The initial phase of how to make boards at home is designing your circuit. This can be one of the most challenging parts for beginners, but there are plenty of online resources and software to help you draw up a plan for your project. Ensuring your design is error-free is crucial, as this blueprint will guide the entire process of making the board at home.
After your design is prepared, the following procedure is transferring this blueprint to your copper-clad board with utmost accuracy. For a beginner, learning how to make a printed circuit board at home doesn’t have to be complicated; using the toner transfer method is straightforward and effective. It’s a process where you print your design onto a special paper and iron it onto the copper surface. This transfer acts as a stencil during the etching phase.
The etching step requires careful attention; the process will involve making the board at home by immersing your copper-clad board in the etching solution. The areas not covered by the transferred design will be eaten away, leaving you with the desired pattern for your electronic parts. Constant agitation and monitoring are essential here to ensure a clean result.
| Process Step | Description | Duration |
|---|---|---|
| Design Transfer | Applying your design onto the copper-clad board—a patient task, but crucial for success. | ~1 Hour |
| Etching | Removing the uncovered copper to reveal your circuit pattern and get one step closer to making the board at home. | 30 Mins – 1 Hr |
| Drilling | Making well-placed holes for component leads—a step that turns a design into a functional board. | Variable |
| Soldering | The rewarding final step where components meet board to create tangible electronics. | Variable |
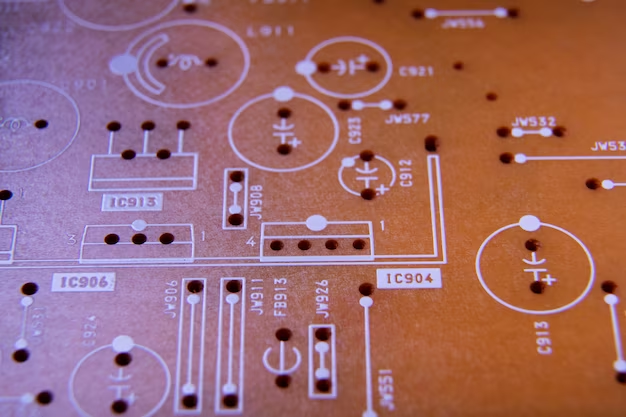
Post-etching comes the drilling of holes, a pivotal step in making the board at home functional. Your drill holes must align with the design’s pads to ensure the components can be affixed correctly. Precision is more than just an asset here; it’s a necessity.
The final touch in bringing your circuit board to life is soldering the components in place. Ensuring reliable solder joints is instrumental in the function and longevity of your makeshift electronics. For those new to how to make a printed circuit board at home, proper soldering technique may take some practice, but it completes the transformation of a simple copper-clad into your very own custom circuit board.
Tips and Tricks for Successful Circuit Board Design
When exploring circuit boards for beginners, it’s important to be armed with a handful of tips and tricks that can turn the complex process of making a circuit board at home into a smoother, more efficient endeavor. Understanding the common pitfalls before you start etching or drilling can save you not only time but also valuable resources.
- Keep your design simple: Start with a straightforward design to get acquainted with the basics before moving on to more complex projects.
- Plan for errors: Always account for potential mistakes and have extra materials on hand to mitigate any slip-ups.
One of the most common pitfalls is not accounting for the space needed between different components and pathways. Overcrowding a circuit board can lead to shorts and malfunctions. Additionally, always double-check your design against the actual components you’ll be using; sometimes, a part’s footprint on paper doesn’t translate perfectly to its real-life size. Another tip is to practice your soldering on scrap materials before moving on to your actual project. This will help you feel more comfortable with the process and avoid poor connections that could lead to circuit failure. Also, keep in mind the importance of clean and clear labeling on your board. Consistent labeling will save you from confusion during the assembly process and help with troubleshooting if issues arise.
Advanced Techniques for Aspiring Hobbyists
As your confidence grows with making basic single-sided PCBs, you may wish to explore more advanced techniques like creating double-sided PCBs and using surface mount technology (SMT). These methodologies will allow you to work on more complex projects and further enhance your skills.
- Invest in better equipment: As you dive deeper, tools such as a high-quality soldering station or PCB milling machine can significantly improve your work.
- Expand your knowledge: Learn about advanced materials and techniques that can lead to more professional results.
Double-sided PCBs require careful planning and precise alignment during the design stage. You’ll need to create vias – small holes that allow connections to pass from one side of the board to the other. This can introduce a level of complexity to your design and assembly process that wasn’t present in single-sided boards. When it comes to SMT, the components are smaller and require different soldering techniques. While it makes the PCB more compact and easier to work with in some ways, it also necessitates a steady hand and often a magnifying tool to correctly place and solder the tiny components.
Expanding Your Electronics Knowledge
The journey of learning how to make a printed circuit board at home doesn’t end with your first successful project. Expanding your electronics knowledge through various projects and resources is a natural and rewarding progression.
- Undertake varied projects: Each new project comes with its own set of challenges and learning opportunities. Diversify to grow your skillset.
- Use online forums: Engage with online communities where you can share experiences and seek advice from seasoned creators.
Taking on different projects can teach you how different components interact and affect your circuit’s functionality. Online forums and communities can also be invaluable resources for learning and troubleshooting. Additionally, there are numerous books, online courses, and YouTube tutorials available for those looking to deepen their knowledge. Another great way to learn is to reverse engineer existing gadgets to understand how they’re constructed and function.
Conclusion: Embarking on Your Circuit Board Journey
In wrapping up this beginner’s guide to making your own circuit board at home, remember that patience, practice, and continuous learning are key. Each step, from carving out your design to the satisfying act of soldering your components, is part of the exciting process of creation. Now that you’re equipped with the knowledge and steps required to make a circuit board, and an understanding of how to avoid common mistakes, you’re well on your way to realizing your DIY electronics projects.
FAQs
- What is the easiest method for a beginner to create a circuit board?
The toner transfer method provides a relatively straightforward approach for beginners making their first PCBs at home. It involves printing the design onto glossy paper and ironing it onto a copper-clad board. - What safety precautions should I take when making a circuit board?
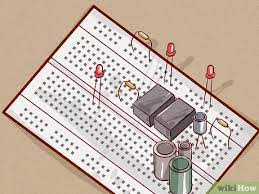
Always wear protective gear such as safety glasses and gloves, especially when handling chemicals like etching solutions. Work in a well-ventilated area and dispose of materials following local environmental guidelines. - Can I make a PCB without soldering?
Soldering is an essential part of creating durable and reliable connections on a PCB. While there are solderless breadboards for prototyping, actual PCB construction typically requires soldering. - How do I ensure that my components will fit on the board?
Carefully measure and plan your layout, checking component sizes and the spacing between them. Use software or templates to simulate the layout before transferring it onto the copper board. - What should I do if my circuit doesn’t work after assembling it?
Troubleshoot by checking all connections for cold joints, ensure components are correctly oriented, and test for shorts or open circuits. If the issue persists, go step by step through your design and assembly process to pinpoint where the problem may lie.